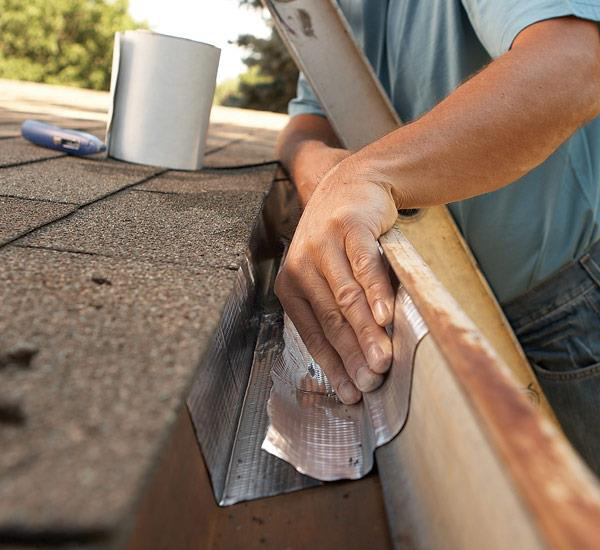
Assess the Issue
It’s crucial to identify the cause of gutter failure before repairing them. A quick caulk application will stop leaks if you clean your gutters. A gutter that is slanted backward or has a rounded top, or is too high will not allow water to flow properly.
How to Install Gutters
Install gutters along the eaves, one end being lower than the opposite. A gutter should have a slope of 1/4 inch per 4 feet. For a 16-foot section of gutter, the downspout should be one inch lower than the opposite end.
Should also install gutters to the right height. Installers should place a straight edge on the roof surface so that it extends over the edge. The front edge of the gutters should then touch the bottom edge.
Repair Leaky Gutters
- Remove existing gutters. Climb a ladder with help and carefully remove each bracket. This can usually be done using a Drill Driver with a 1/4 or a 5/16 hex attachment. The downspout should also be removed.
- After removing the gutter from the fascia, place it on a sawhorse or workbench. Remove screws or drill out rivets to disassemble the gutter assembly. Scrape off any caulk or gunk on each piece before you wash them with the hose.
- The ladder should be placed under the fascia, where the high end of the gutter will sit. Mark the fascia with a straightedge to determine the correct height for the gutter. Mark additional 4-foot increments at 1/4-inch below the previous marks until you reach the downspout.
- Snap the chalk line that you have stretched from the high mark down to the mark on the downspout. To ensure a proper flow, use a level and ensure this mark has a 1/4-inch slope all along the length.
- Use a caulking gun and squeeze a thick silicone caulk bead inside couplings that join gutter lengths. Assemble and then drill and rivet together the pieces. Apply another bead on the inside of the gutter couplings, and smooth the caulk over the edges to prevent water from getting under the gutters.
- Make any necessary repairs to the downspout. Purchase a new elbow if necessary to allow the downspout to sit against the house. Mounting brackets are attached to the downspout by drilling and riveting.
- Install brackets every 16″ so that they are aligned with the rafter tails. It may be necessary to climb a ladder in order to inspect for nails driven into the fascia or rafters. Transfer the marks onto the gutter.
- Lift the gutter assembly into position with help. Drive the bracket screws into the rafter tails and fascia by aligning the back edge of the gutter with the chalk line. The screws must be tight but not so tight as to deform the gutters. The level will help you determine the slope.
- Reattach the downspout to the house and secure it.
Resources
Tom fixes seamless gutters pitched over a homeowner’s backyard deck.
Tom uses a flat edge in order to check if the gutters have been hung too high. Tom uses the Dewalt compact drilling tool to remove the gutter brackets. Tom marks the gutter line with chalk and then screws in one 1-1/2″ pan-head aluminum screw. Tom installs gutter brackets in the gutters by inserting them through the fascia and into the rafter tail. Tom uses 1-1/2″ aluminum panhead screws to attach the B-elbows for the 2×3 downspouts. He then screws an aluminum band near the upper- and lower ends of the downspout. Tom seals the corner joint with Seamer Mate Gutter Sealant. Tom installs the drip edge using 1-1/2″ galvanized roofing nail. He nails them every 16″.
Shop for these and other products at Home Depot.
Materials
- Gutter brackets
- Silicone Caulk Gutter Sealant
- Downspout elbow (optional)
- Pan-head aluminum screws
- Galvanized roofing nails

